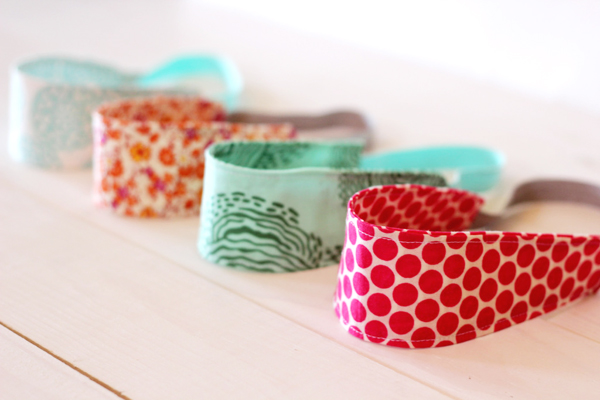
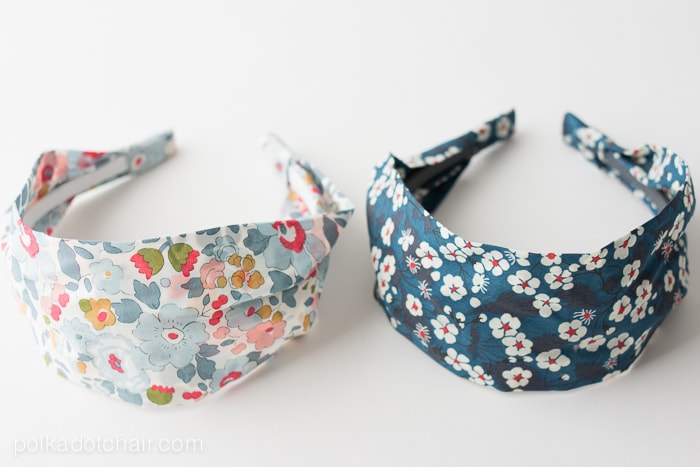
In this craft, as in so many other things, the experience is a degree and it is convenient to start with simple projects until you master techniques and tools on how to make a fabric headband. And so is this fabric headband, simple to make and suitable for beginners in the use of the sewing machine.
We start by cutting the necessary fabric. They are two pieces of 34 cm long, one 5 cm wide and the other 9 cm, but the measurements depend on the size you want for the headband. You have to measure the outline of the girl’s head and calculate the fabric you need.
Table of Contents
ToggleHow to make a fabric headband?

1. Cut out the rectangle of fabric with the indicated measurements.
2. Fold the fabric on the long side, matching straight to the right.
3. Sew with a stretch stitch along the entire long open side, leaving as little margin as possible.
4. You will have obtained something like a sleeve. Turn it over and place the seam in the middle of the “sleeve.” If you want, you can put a couple of pins, so that you do not miss the middle.
5. Fold the “sleeve” in half, matching the straight cuts (where there is no seam), but bringing the end of one side together with the middle of the other. Anyway, as seen in the photo below, hahaha.
6. Take the headband with your hands. Fold the outer half of the one you have in your left hand forward and the other outer half, which you have in your right hand, towards you.
7. Sew, with the same elastic stitch, to fix “the sandwich,” leaving a margin of 1 cm approx.
8. Cut off the excess fabric and turn the headband over. List!!
Some consideration
Keep in mind that in the wide part of the headband, a centimeter will be lost in the seams of the ends and for the rubber, you have to count on the measurement of the elastic without stretching and cut the fabric longer so that it will then be curled and support that the rubber can be stretched.
The length of the wide strip (minus 1 cm of seams) plus the length of the rubber at rest (minus 1 cm of seams) has to give the cut you need for the headband. Then we fold the 5 cm wide piece and stitch the side. We introduce a piece of rubber at one end and secure it with stitching.
With the help of a knitting needle, we turn the piece over so that the seam and rubber remain on the inside. Once turned over, we tighten the rubber and close it with stitching. Finish with hems the sides of the other piece of fabric
We join the two pieces together. This seam I have done by hand, making sure it is strong. The excess peaks are bent inwards and fixed with a few stitches. To make the flower, a circle of fabric is used, which is cut in a spiral. We pass basting with small stitches on the inside and when we have completed the spiral, we pull the thread so that the fabric is gathered.


